Introduction
LUCID’s 3D + RGB IP67 Kit comes with everything you need to get started on creating stunning color point clouds. Adding RGB data from the Triton 3.2MP camera to the Helios2 ToF 3D camera’s point cloud allows you to pinpoint your objects more effectively for your pattern recognition or detection algorithm. The Triton 3.2MP provides the best cost-effective level of color density to fill in the depth pixel, giving you excellent and accurate color reproduction. This article will explain how to setup and view color 3D images in ArenaView using this camera kit.
Requirements
- HLT-TRI-KIT001 (This kit includes:)
- HLT003S-001, Helios2 camera. Please note these instructions only work with Helios2.
- TRI032S-CC, Triton 3.2MP color camera
- UC060-5M, Universe Compact C-Mount Lens 5MP 2/3″ 6mm
- IPTC-D270L346, IP67 C-Mount Lens Tube
- HLT-TRI-MNT, Triton to Helios2 mounting bracket
- 2x CAB-MR-2M, M12 to RJ45 IP67 Cat6a Cable
- PCIE-POE2, 2-CH PCIe GigE Vision PoE+ Card
- ArenaView v1.0.28.0 or newer
Follow the Hardware Assembly Instructions to put together your HLT-TRI-KIT001.
Setting up cameras in ArenaView
Step 1: Initial Setup
Make sure you have read and completed the initial setup section found in the Arena SDK documentation. In particular, make sure you have turned on jumbo frames and set your receive buffer size.
Step 2: Connect Cameras and Launch ArenaView
Once Arena SDK is installed, the system is properly configured, and the cameras are plugged in and powered, you can open ArenaView in Windows.

Step 3: Open ArenaView Options Window
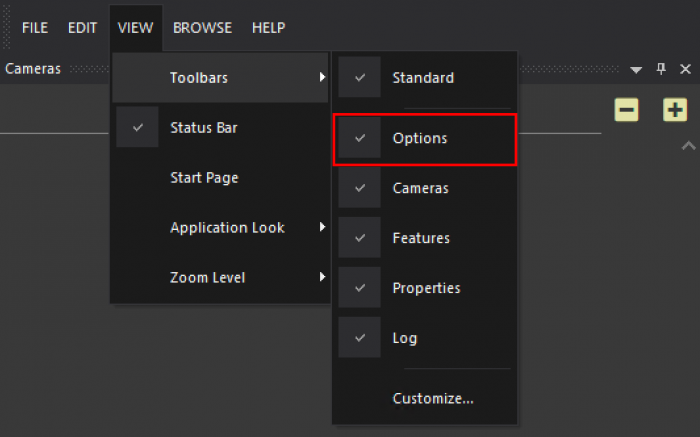
Open the ArenaView Options window by clicking View -> Toolbars -> Options.
Step 4: Open ArenaView Log Window
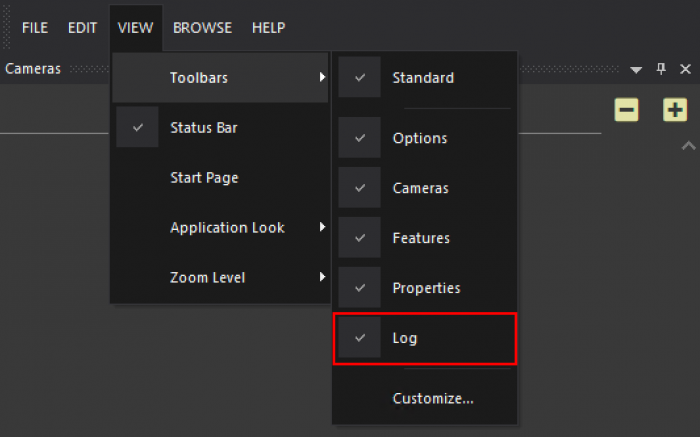
Open the ArenaView Log window by clicking View -> Toolbars -> Log.
Triton Lens Calibration
Before the data between the two cameras can be combined, we must first calibrate the lens on the Triton color camera to find its optical center and focal length (intrinsics), and lens distortion coefficients (pinhole model). We can achieve this by printing a target with a checkerboard pattern or you can download our calibration target here (15kB, PDF, 8.5 x 11 in)
Before calibrating the Triton camera you must focus its lens. Place the target at your application’s working distance and focus the Triton’s lens so that the calibration target is in focus.
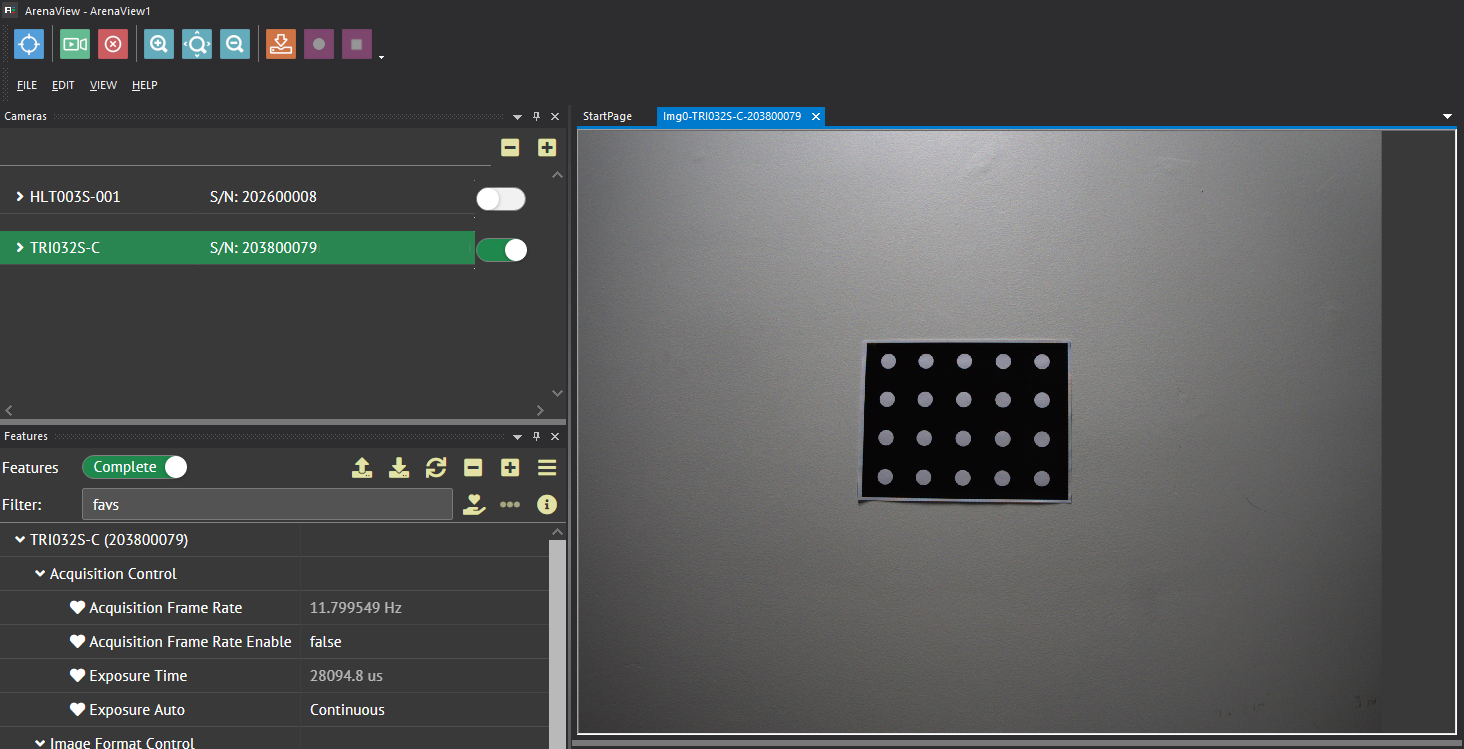
Step 1: Place your calibration target in landscape orientation (4 rows by 5 columns)
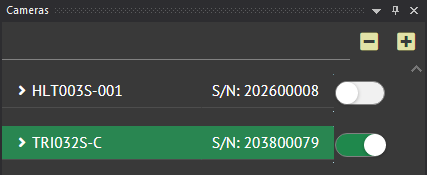
Select your Triton camera.
Step 2: Press  to acquire live images with your Triton.
When your Triton’s image is in focus, you are ready to begin the lens calibration steps.
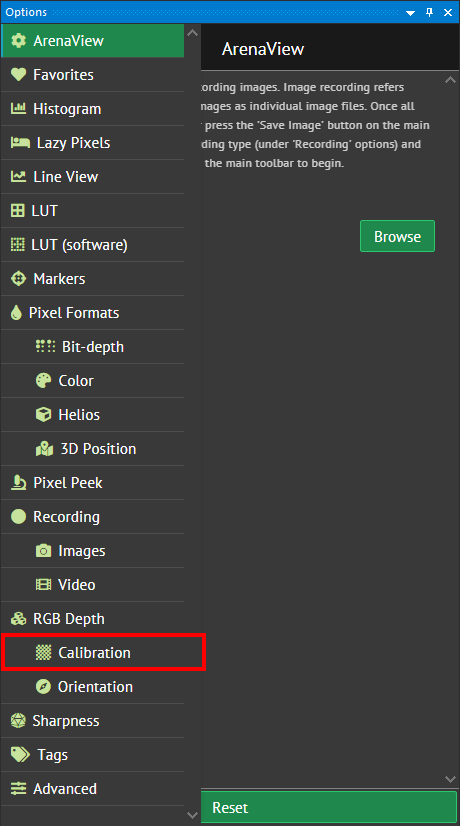
Step 3: Open the Calibration options by going to the Options window and selecting the Calibration tab.
Step 4: Press the Grab Image button in the Calibration tab and grab 10 calibration images. The ArenaView Log window will mention the number of calibration images taken.

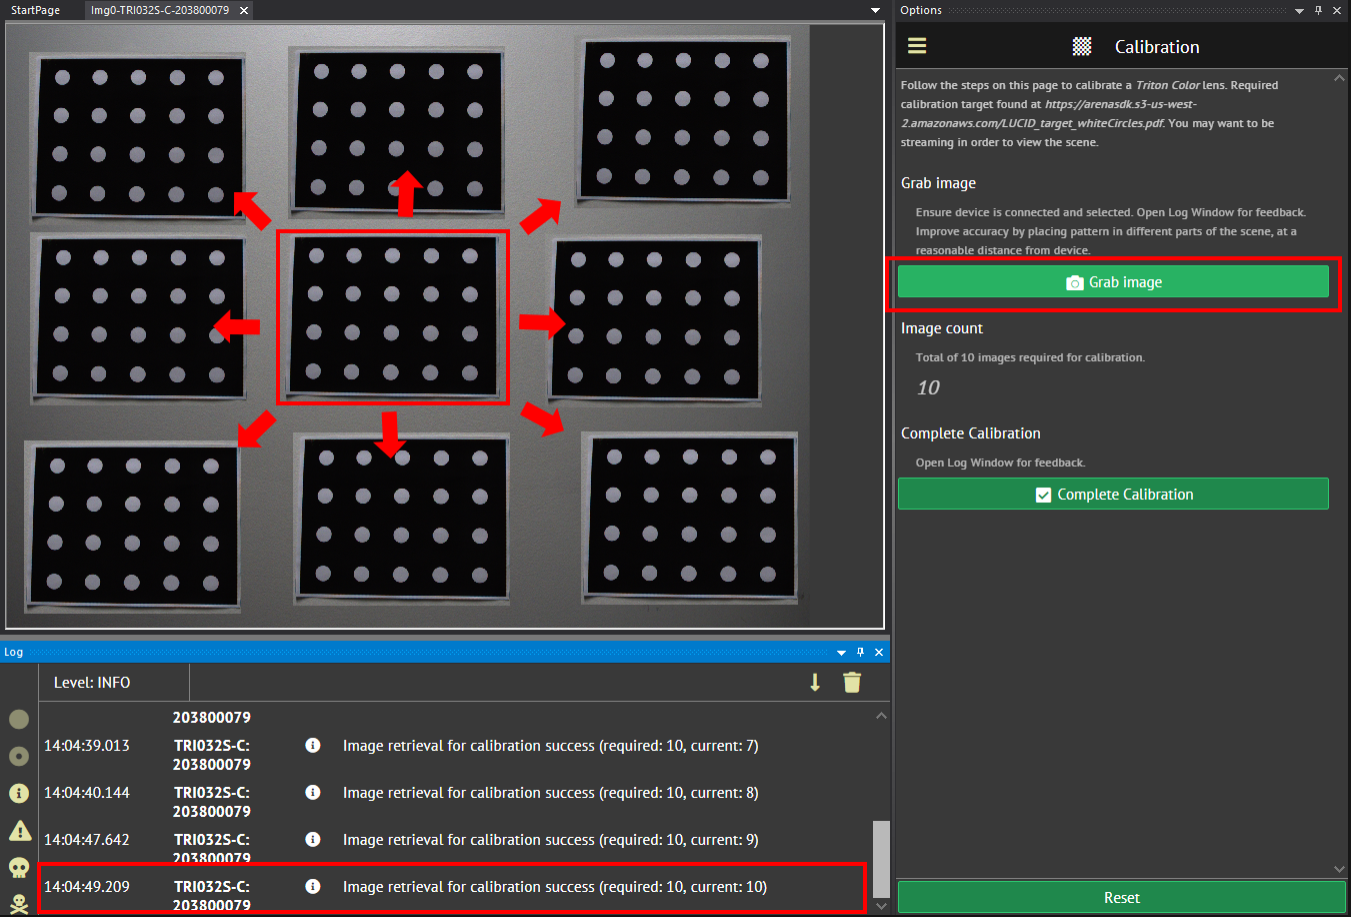
Step 5: Press the Complete Calibration button after you have captured your calibration images. The ArenaView Log window will mention the lens calibration process is complete.

Camera Orientation
ArenaView’s method to overlay color data is accomplished by reading the 3D points ABC (XYZ) from the Helios2 and projecting them onto the Triton RGB camera directly. This requires first solving for the orientation of the Helios coordinate system relative to the Triton’s native coordinate space (rotation and translation wise).
Helios2 Orientation
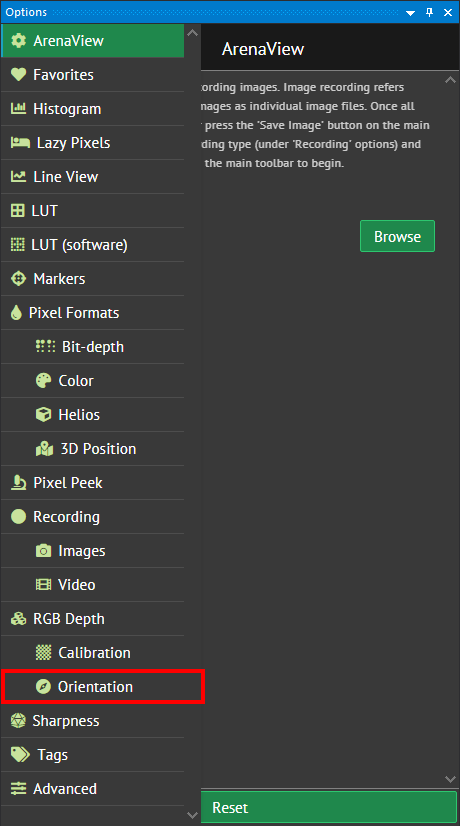
Step 1: Open the Orientation options by going to the Options window and selecting the Orientation tab.
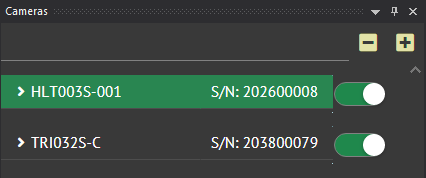
Step 2: Select your Helios2 camera.
Step 3: Confirm the pixel format of your Helios2 is set to Coord3D_ABCY16 or Coord3D_ABCY16s.
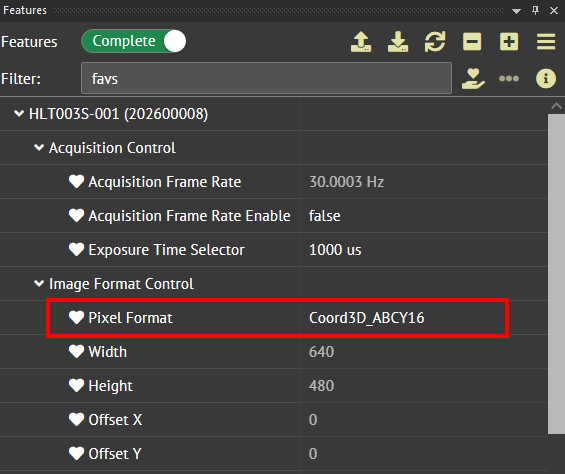
Step 4: Place your calibration target in landscape orientation (4 rows by 5 columns).
Step 5: Press  to take a snapshot with your Helios2.
Step 6: Select Luminance False Coloration and set your Coloring Algorithm to Raw in the Pre-orientation tab. Make sure your Helios2 can see the calibration target with your current settings.
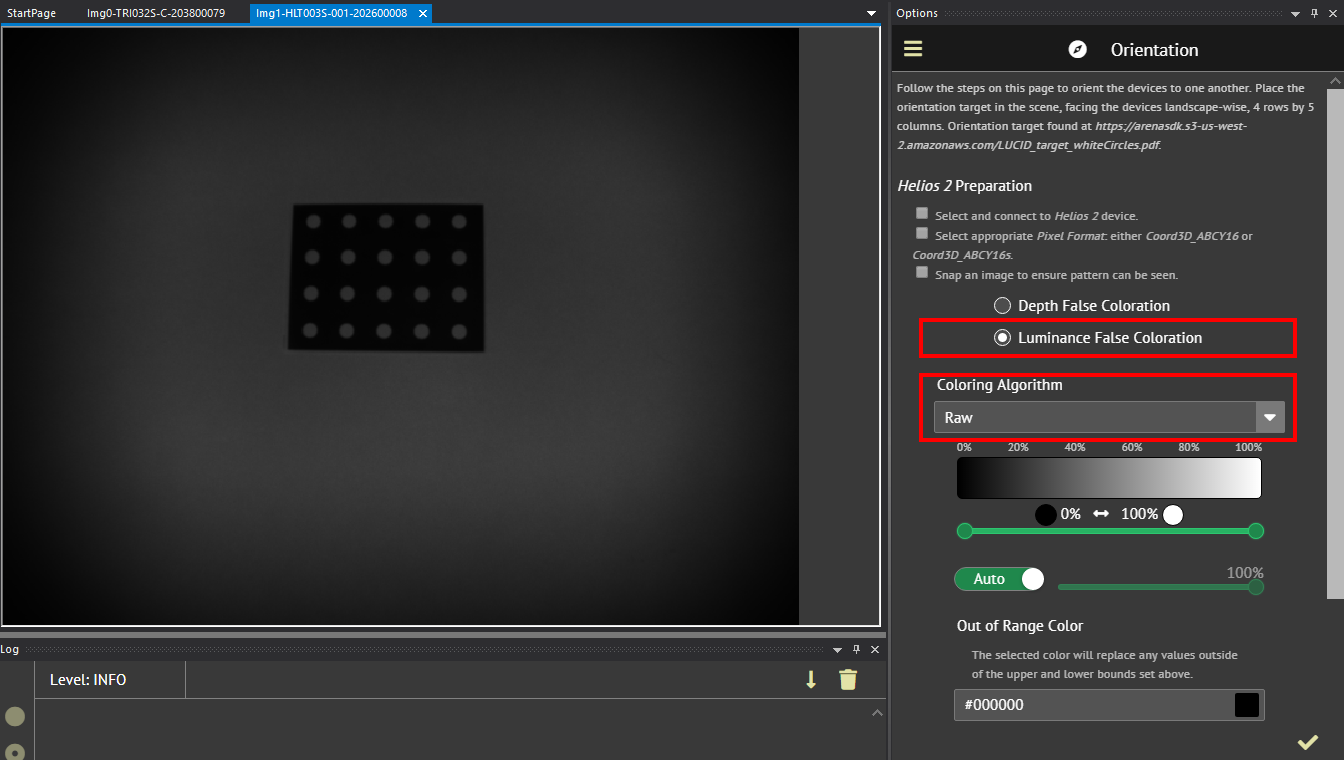
Step 7: Adjust the colorization range to ensure the calibration target is clearly visible in your Helios2 luminance image.

Step 8: Press the ![]() button after confirming you can see your calibration target in your Helios2 luminance image.
button after confirming you can see your calibration target in your Helios2 luminance image.
Step 9: Press the Pre-orient Helios2 button to complete the Helios2 pre-orientation. The ArenaView Log window will mention the Helios2 pre-orientation process is complete.

Triton Orientation
Step 1: Select your Triton camera.

Step 2: Set your Triton’s Pixel Format to RGB8.
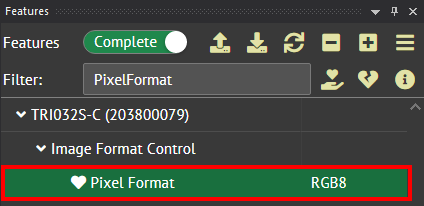
Step 3: Press  to take a snapshot with your Triton.
Step 4: Press the ![]() button after confirming you can see your calibration target in your Triton image.
button after confirming you can see your calibration target in your Triton image.
5. Press the Pre-orient Triton button to complete the Triton pre-orientation. The ArenaView Log window will mention the Triton pre-orientation process is complete.

Completing Orientation
After you have completed the pre-orientation process for both cameras, press the Complete Orientation button to complete the orientation process.

The ArenaView Log window will mention the orientation process is complete.

Viewing 3D + RGB
Make sure the following steps are complete before proceeding:
- Triton lens calibration
- Helios2 pre-orientation
- Triton pre-orientation
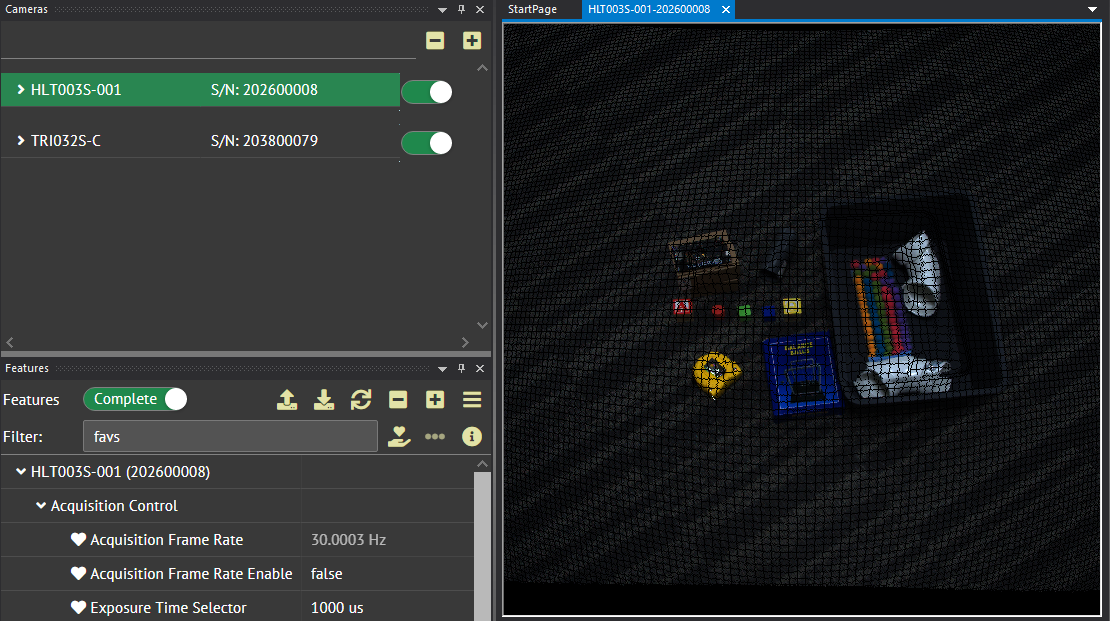
After these steps are complete, you will be able to stream 3D + RGB data in ArenaView.
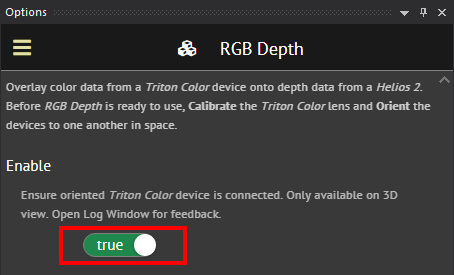
Step 1: Open the RGB Depth options by going to the Options window and selecting the RGB Depth tab.
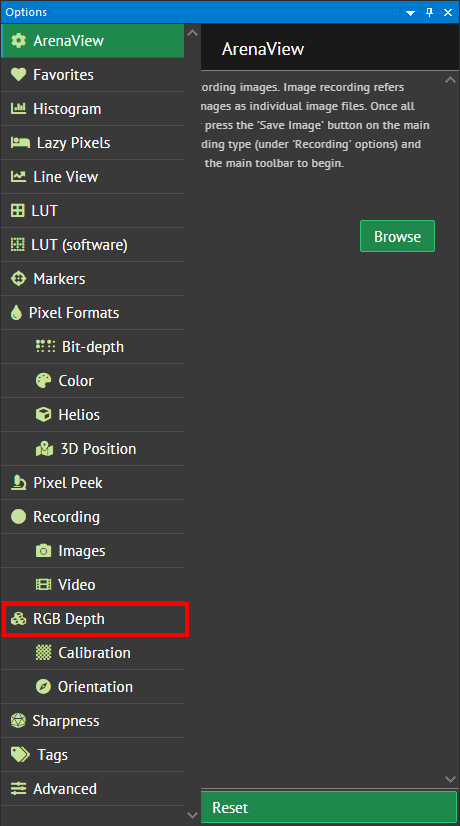
Step 2: Set the RGB Depth Enable option to True.
Step 3: Select your Helios2.
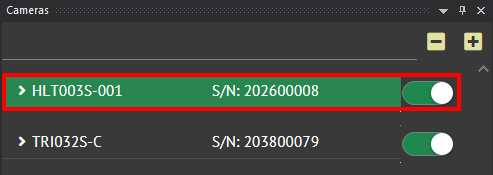
Step 4: Press  acquire live images with your Helios2.
Step 5: Open the Pixel Format options by going to the Options window and selecting the Pixel Format tab.

Step 6: Select the 3D View option in the Pixel Format options.
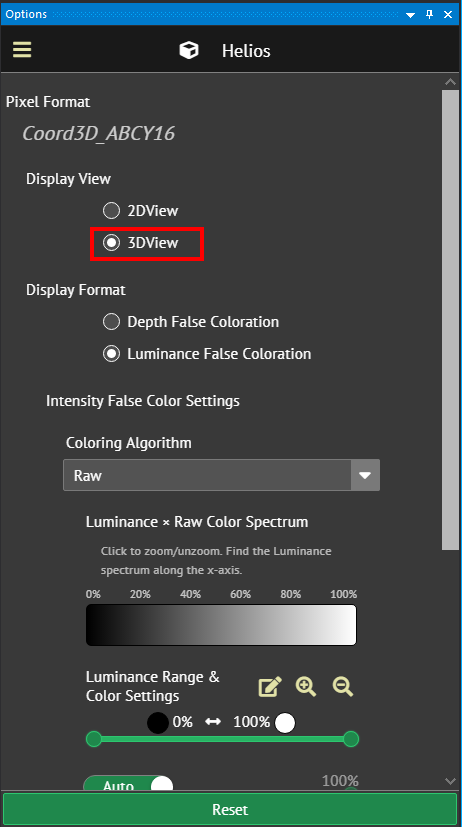
After 3D View is selected, the 3D + RGB data will be shown in your streaming window.
Lens Calibration and Orientation Data
It is possible to transport a 3D + RGB kit’s lens calibration and orientation data to another PC’s ArenaView installation (v1.0.28.0 or higher).
ArenaView saves the lens calibration and orientation data in the ArenaView installation folder. By default ArenaView is installed to:
%ProgramData%\LUCID Vision Labs\ArenaView\
The data is saved as a json file each camera’s serial number.
- A TRI032S-CC with serial number 203800079 would be saved as 203800072.json
- A HLT003S-001 with serial number 202600008 would be saved as 202600008.json