Introduction
The PCIE-POE1-10G-IOI is the single-port 10G/5G/2.5G/1G PoE+ NBASE-T NIC offered by LUCID Vision Labs (https://thinklucid.com/product/10g-5g-2-5g-1g-poe-ethernet-card/). Thanks to its 10G bandwidth capability, it is compatible with all LUCID cameras, including the new Atlas10 family. It requires a driver to be installed on its host system, and this article will go over the steps to installing that driver.
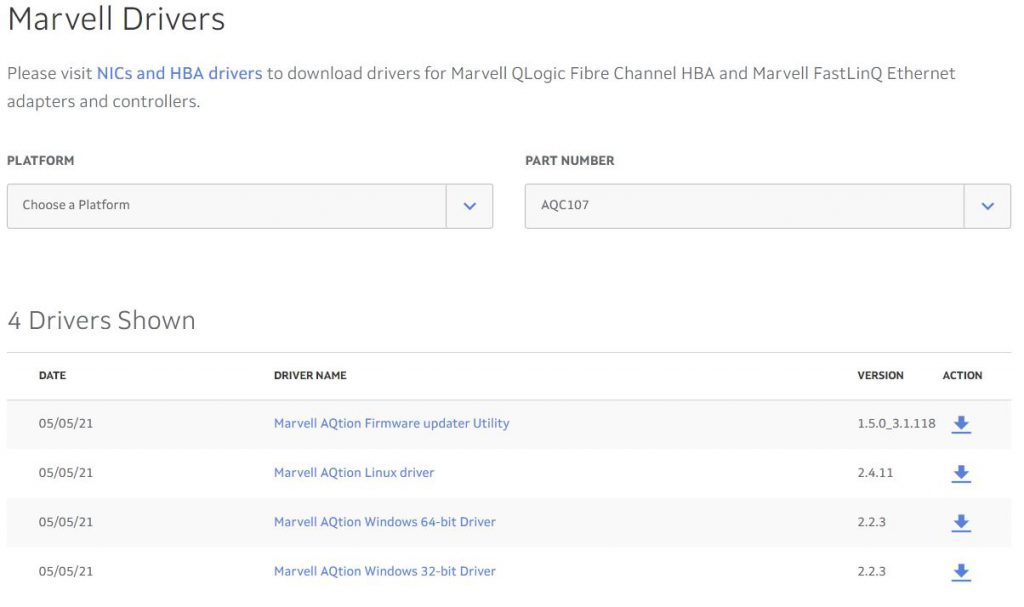
The PCIE-POE1-10G-IOI will ship with a CD containing the Windows and Linux drivers. The drivers can also be downloaded from the Manufacturer’s website: https://www.marvell.com/support/downloads.html#. If you choose to download the drivers from the Manufacturer’s website, select AQC107 from the PART NUMBER drop-down, and download the version corresponding to your PC’s operating system.
JUMP TO: Windows Installation | Linux Ubuntu | Linux 4 Tegra (NVIDIA Jetson Xavier)
Windows
If you choose to install the drivers on the CD, insert the CD included with the PCIE-POE1-MG2 into the Windows computer. Find the CD/DVD drive in File Explorer, and enter the Windows folder.
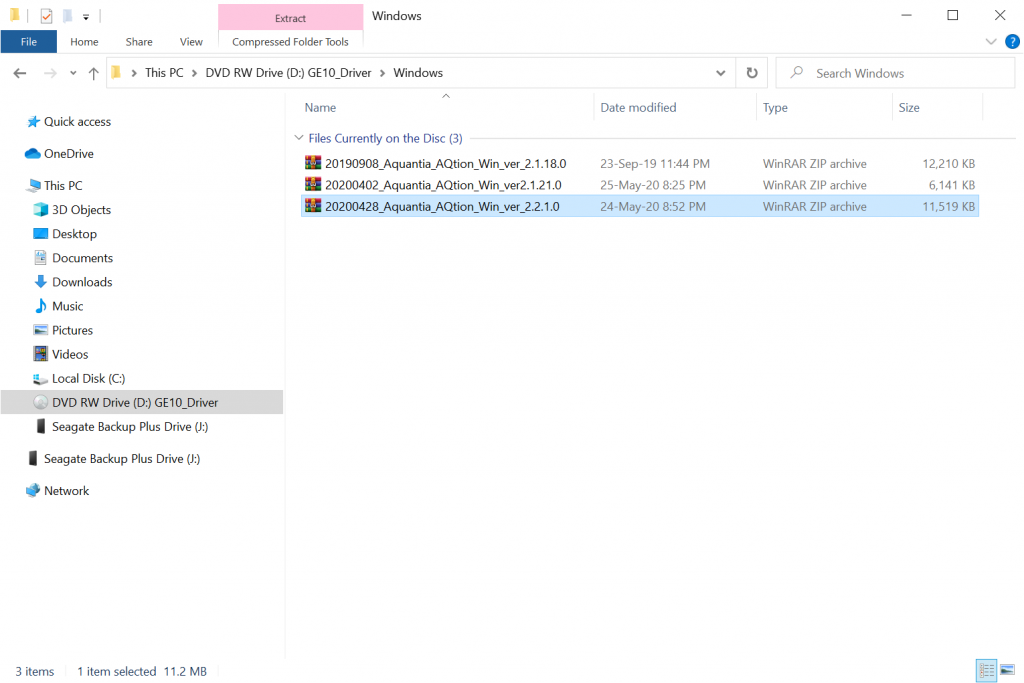
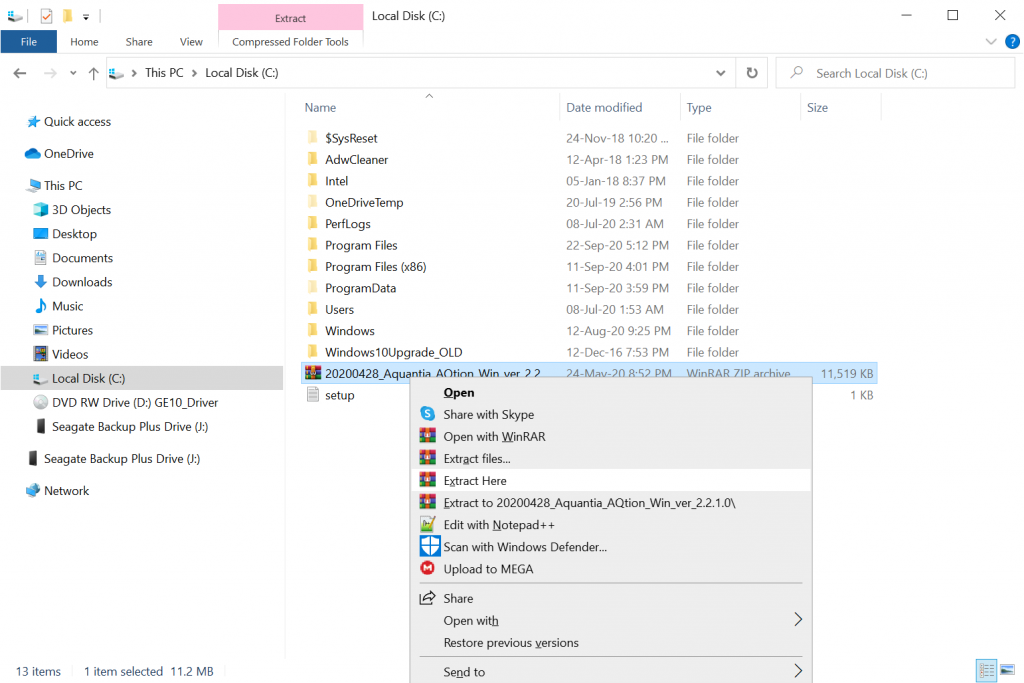
Copy the latest version of the .zip folder (in this case 20200428_Aquantia_AQtion_Win_ver_2.2.1.0) to a local folder in C: drive and extract it.
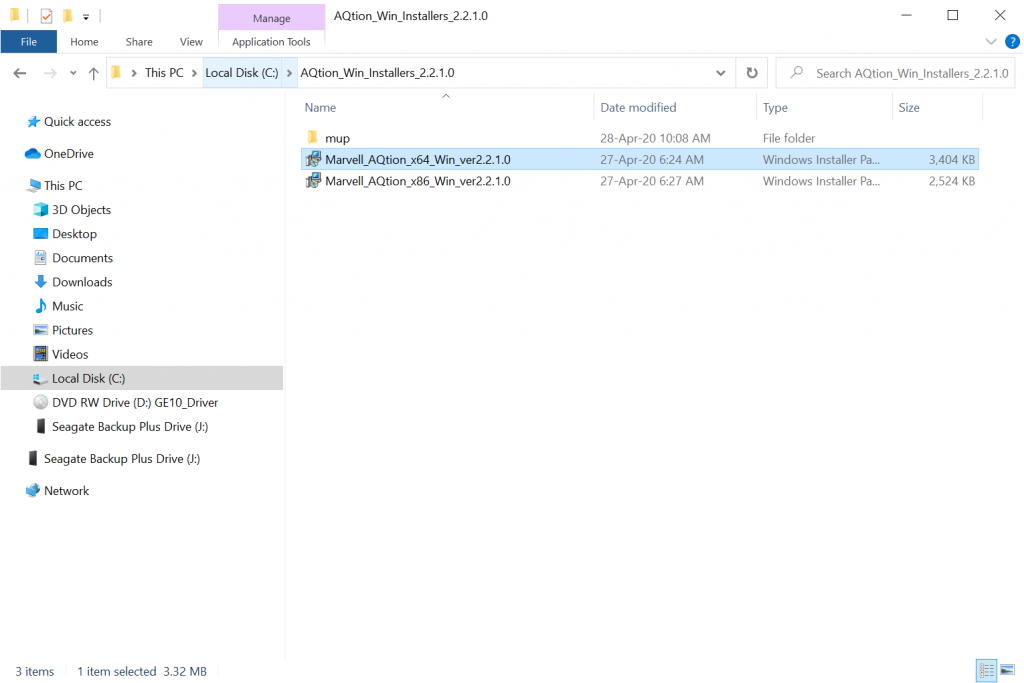
Open the resulting AQtion_Win_Installers_2.2.1.0 folder, and double-click Marvell_AQtion_x64_Win_ver2.2.1.0. Use the _x64_ one if on a 64-bit system or use the _x86_ one if on a 32-bit system.
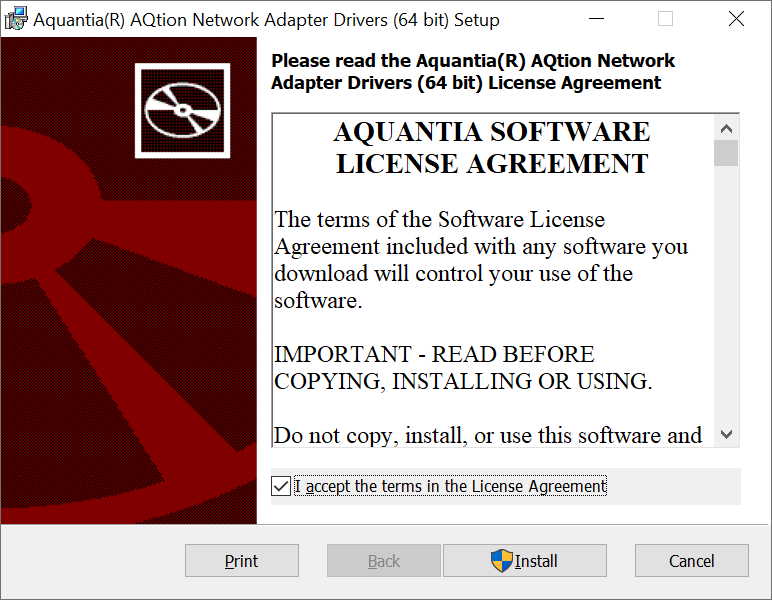
The Setup Wizard will open. Click the I accept the terms in the License Agreement box, then click Install.
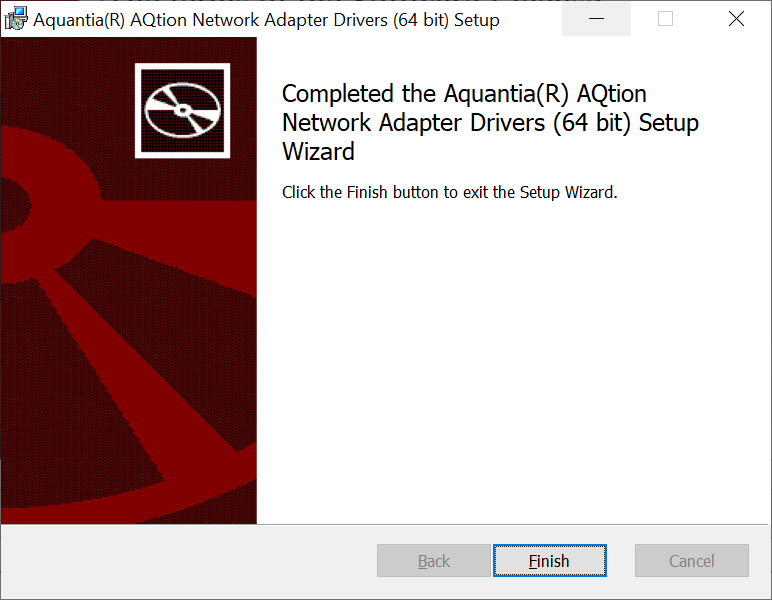
Click Finish once the installation is complete.
To confirm the driver installed successfully, open Device Manager and check that Marvell AQtion 10Gbit Network Adapter appears under Network adapters.
Follow the Jumbo Frames and Receive Buffers sections of this article to set up the PCIE-POE1-MG2 for use with LUCID cameras: https://support.thinklucid.com/arena-sdk-documentation/#4556
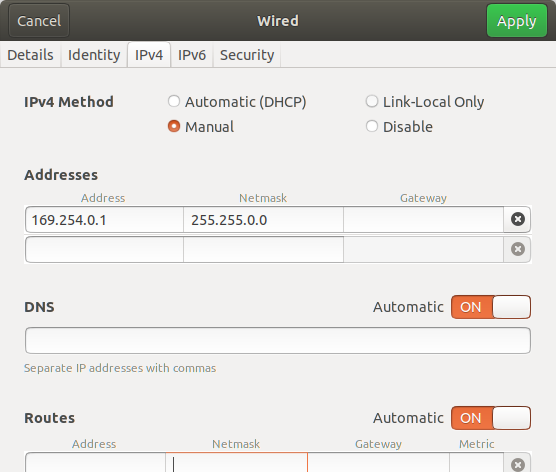
If cameras won’t connect, try setting the PCIE-POE1-MG2 to the LLA space: https://support.thinklucid.com/arena-sdk-documentation/#4614
Linux Ubuntu
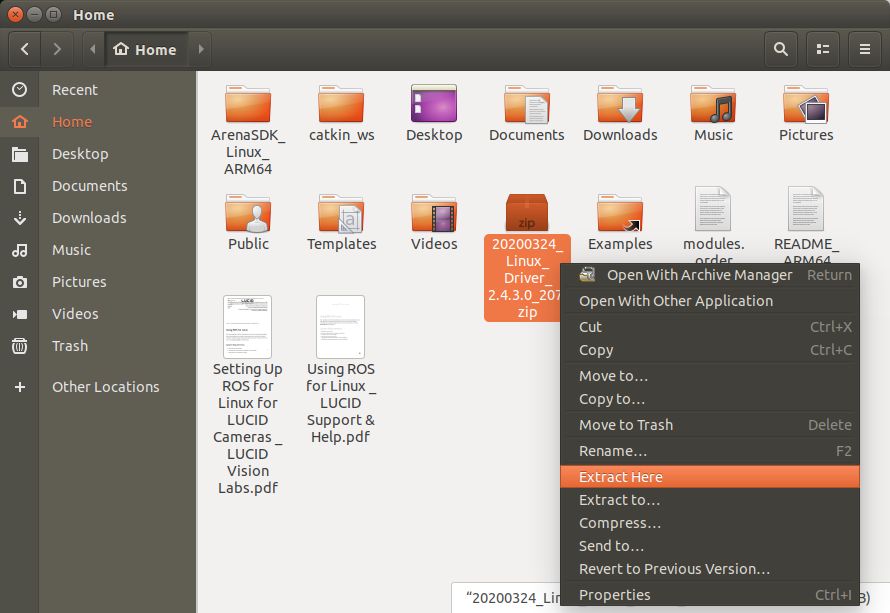
Insert the CD included with the PCIE-POE1-MG2 into the Linux computer. In Files, enter the CD’s Linux folder.

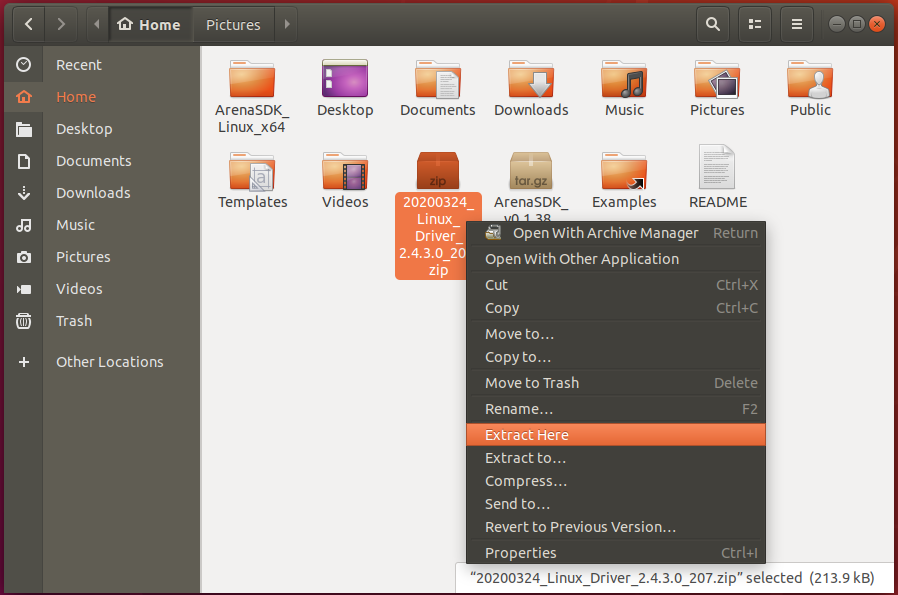
Copy the latest version of the .zip folder (in this case 20200324_Linux_Driver_2.4.3.0_207.zip) to the Home directory and extract it.
Open Terminal, and run the following commands:
sudo apt install linux-headers-$(uname -r) build-essential
cd ~/20200324_Linux_Driver_2.4.3.0_207
tar zxf atlantic.tar.gz
cd Linux
make
sudo modprobe ptp
sudo modprobe crc_itu_t
sudo insmod atlantic.ko
sudo rmmod atlantic
make && sudo make install
You may see some warnings at the final command, but there shouldn’t be any errors.
Check that atlantic.ko can be found with the following Terminal command:
ls /lib/modules/$(uname -r)/kernel/drivers/net/ethernet/aquantia/atlantic
Reboot the PC.
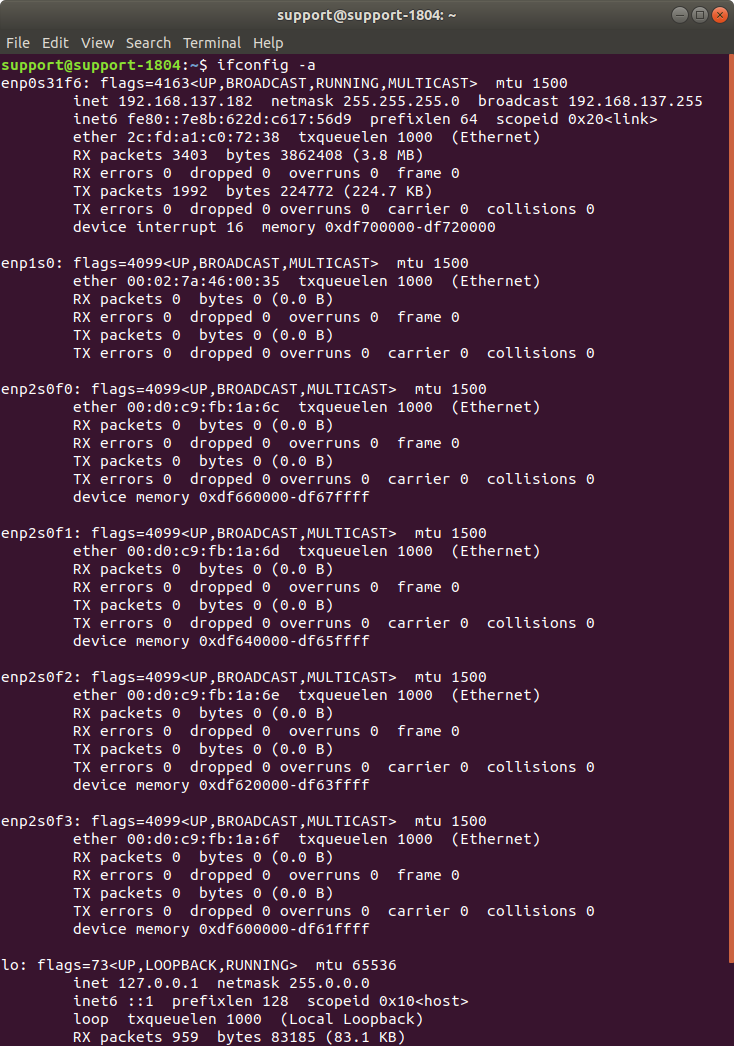
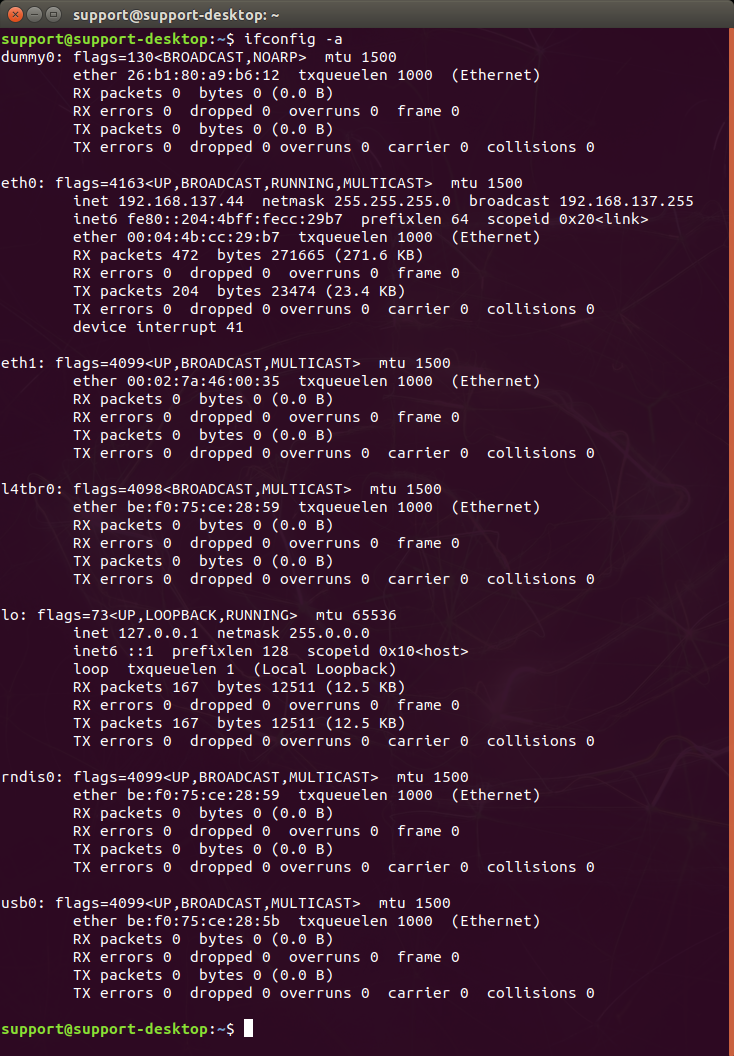
Run the Terminal command “ifconfig -a“, and check that a new interface has appeared. In this case, the PCIE-POE1-MG2 is listed as enp1s0.
Follow the Jumbo Frames and Receive Buffers sections of this article to set up enp1s0 for use with LUCID cameras: https://support.thinklucid.com/arena-sdk-documentation/#4677

If cameras won’t connect, try setting enp1s0 to the LLA space: https://support.thinklucid.com/arena-sdk-documentation/#4711
This command can be used to confirm 5G bandwidth support:
ethtool enp1s0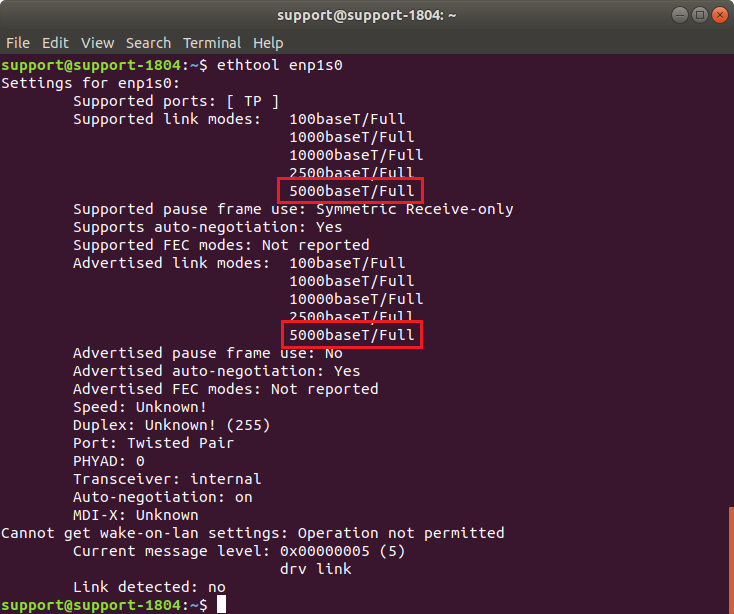
Linux 4 Tegra (NVIDIA Jetson Xavier)
Since the driver comes on a CD, you will need a Windows or Ubuntu PC to obtain the .zip folder. Look in the CD’s Linux folder, and transfer the latest version of the .zip folder (in this case 20200324_Linux_Driver_2.4.3.0_207.zip) to the Xavier either with a USB drive (with help from a USB hub) or via email. The Xavier will require an internet connection for latter steps, so make sure one is established before proceeding.
Place the .zip folder in the Home directory and extract it there.
Open Terminal, and run the following commands:
sudo apt install build-essential
cd ~/20200324_Linux_Driver_2.4.3.0_207
tar zxf atlantic.tar.gz
cd Linux
make
sudo modprobe ptp
sudo modprobe crc_itu_t
sudo insmod atlantic.ko
sudo rmmod atlantic
make && sudo make install
You may see some warnings at the final command, but there shouldn’t be any errors.
Check that atlantic.ko can be found with the following Terminal commands:
ls /lib/modules/$(uname -r)/kernel/drivers/net/ethernet/aquantia/atlantic
Reboot the Xavier.
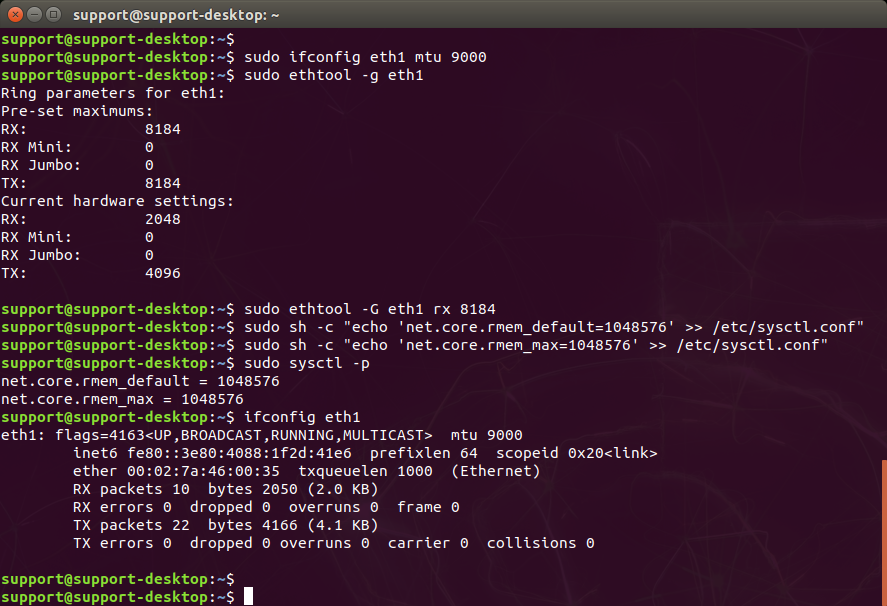
Run the Terminal command “ifconfig -a “, and check that a new interface has appeared. In this case, the PCIE-POE1-MG2 is listed as eth1.
Follow the Jumbo Frames and Receive Buffers sections of this article to set up eth1 for use with LUCID cameras: https://support.thinklucid.com/arena-sdk-documentation/#4677
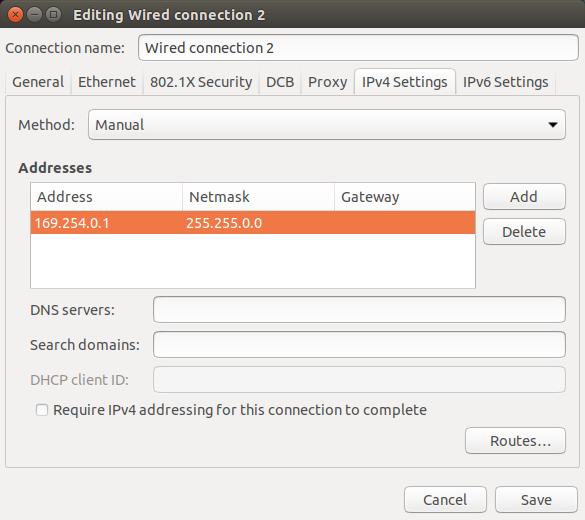
If cameras won’t connect, try setting eth1 to the LLA space: https://support.thinklucid.com/arena-sdk-documentation/#4711
This command can be used to confirm 5G bandwidth support:
ethtool eth1