Multicast device discovery allows multiple systems to receive an image stream from a GigE Vision camera. A multicast group address and port are assigned to send and receive multicast messages between the GigE Vision transmitter and receiver. An application running as the master is then configured to send an image stream to a multicast group administered by a Gigabit Ethernet switch that supports the Internet Group Management Protocol (IGMP) v2. Lastly, an application configured as the listener system can then subscribe to the multicast group and receive the image stream.
The procedures below outline the configuration of multicast device discovery for Windows and Linux systems.
Requirements:
- Windows: Arena SDK v1.0.41.8 or higher
- Linux: Arena SDK v1.68.0.0 or higher
- LUCID Camera with latest release firmware (>1.69.0.0)
- Gigabit Network Switch that supports IGMPv2
- 2x PCs/systems
ArenaView GUI (Windows) setup Instructions:
To stream from the Controller PC and view the stream from your Listener PC using ArenaView, follow the steps below.

On the Controller PC
1) Connect to the camera.

2) In the Features window, set TL DataStream Parameters -> Buffer Handling Control -> Multicast Enable to True.

This automatically changes the camera’s Stream Channel Destination Address to 239.10.10.10, which is the multicast address used by this firmware version.
Confirm that the your network is not blocking the multicast IP range (224.0.0.0 to 239.255.255.255).
3) Start streaming the camera.
On the Listener PC
1) Connect to the camera you connected to above.

You should see a note saying this device is open in read-only mode, which means we can view the camera features from this PC, but not change them. Only the Controller PC (the first PC that connected to the camera) can modify camera parameters.
2) Set TL DataStream Parameters -> Buffer Handling Control -> Multicast Enable to True in the Features window:

3) Start streaming the camera.
At this point, you should see the image on both PCs.
ArenaSDK (Linux) Setup Instructions
- Master system
- OS: Ubuntu 18.04.6 LST
- NIC IP address and netmask: 169.254.0.10; 255.255.0.0
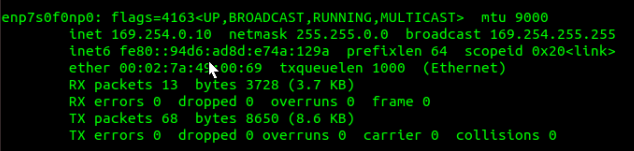
- Add $sudo ip addr add 239.10.10.10 dev <adapter name> autojoin

- Camera 1:
- IP address and netmask: 169.254.0.200; 255.255.0.0

- Listener system
- Nvidia Jetson
- OS: Ubuntu 20.04.06 LTS
- IP address and netmask: 169.254.0.11; 255.255.0.0
- Add $sudo ip addr add 239.10.10.10 dev <adapter name> autojoin

You can now see the camera through IpConfigUtility on both systems.
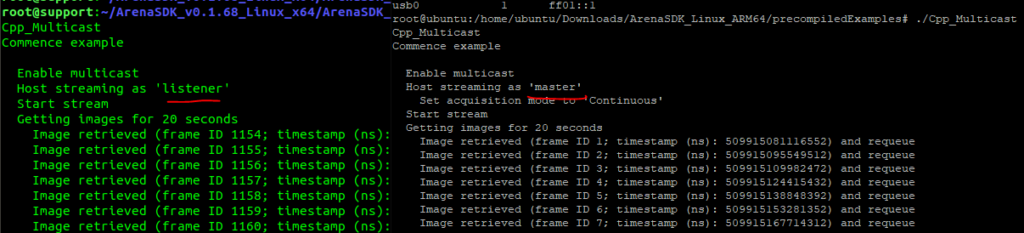
Run Cpp_Multicast.cpp on the Master and Listener systems for Multicast streaming.
Note
- Ensure both computers can stream the LUCID device successfully without multicasting first.
- If the Listener system does not have jumbo frames enabled, you will not be able to view the camera’s stream where jumbo frames are used. You’ll see a blank screen on the Listener system.